Working with submissions
SecureDrop Inbox decrypts and displays messages from sources and lets you send replies. Files sent by sources are viewed or exported securely using isolated VMs, made possible by the Qubes operating system that runs on your SecureDrop Workstation.
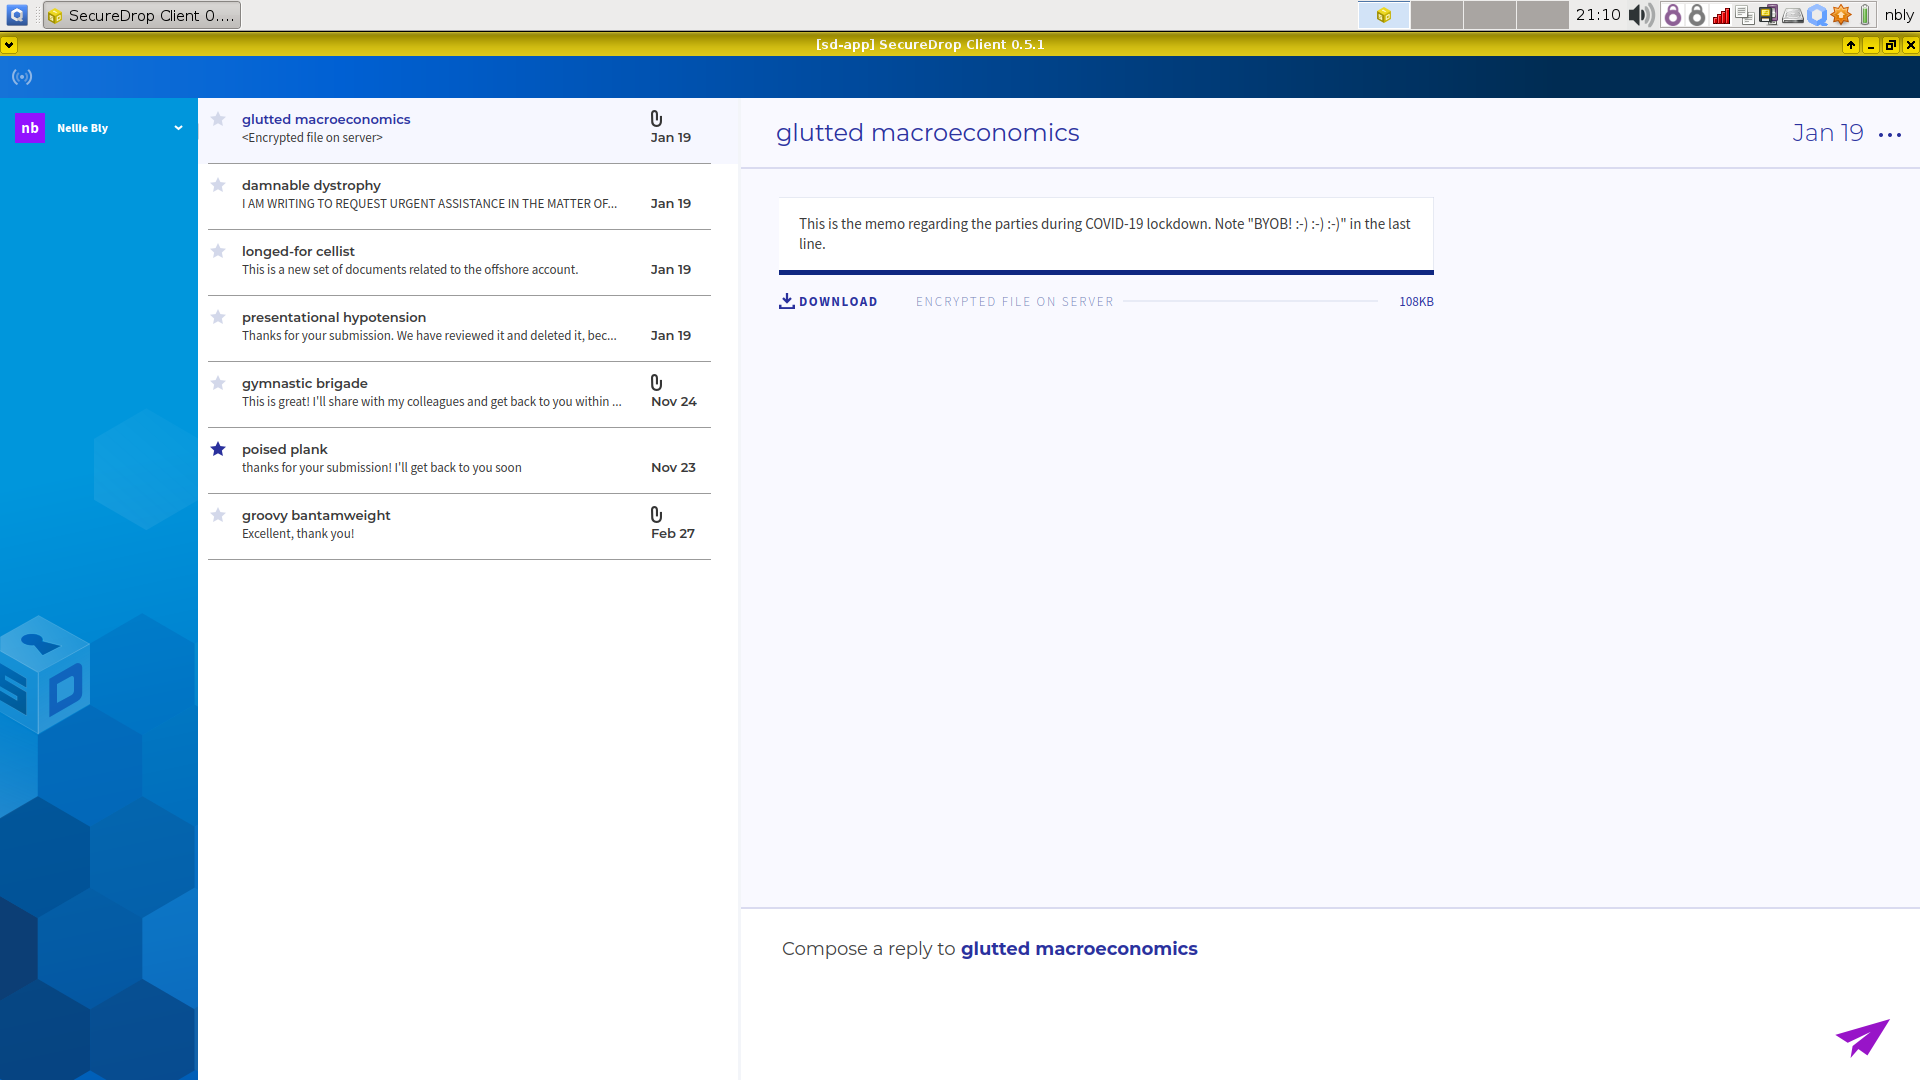
When a source submits files, you will see a Download button in the conversation flow, a file size, and light-gray text that says “Encrypted File.”
Downloading
Submitted files are not downloaded from your SecureDrop server automatically. To download a submitted file, click the Download button. An animated spinner will indicate that the file is downloading, and a progress bar will indicate the download’s progress:

If necessary, you can pause the download by clicking “Pause,” and resume the download later with “Resume.”
The displayed file size may increase after the download is complete, because SecureDrop Inbox automatically decompresses the downloaded file.

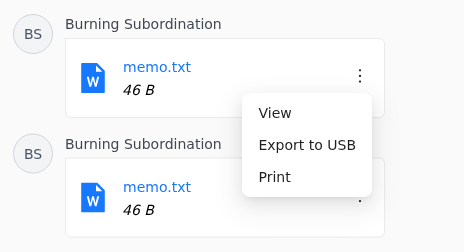
Once the file has been downloaded and decrypted, the filename will be visible. The Download button will be replaced with a menu from which you can View, Export to USB or Print the file.
Viewing
To view a submitted file you have downloaded, click its filename. This will open the file in a temporary environment, called a “disposable VM.” The file you clicked on will open in a new window with a different colored border and a window title prefixed with “disp” (meaning disposable).
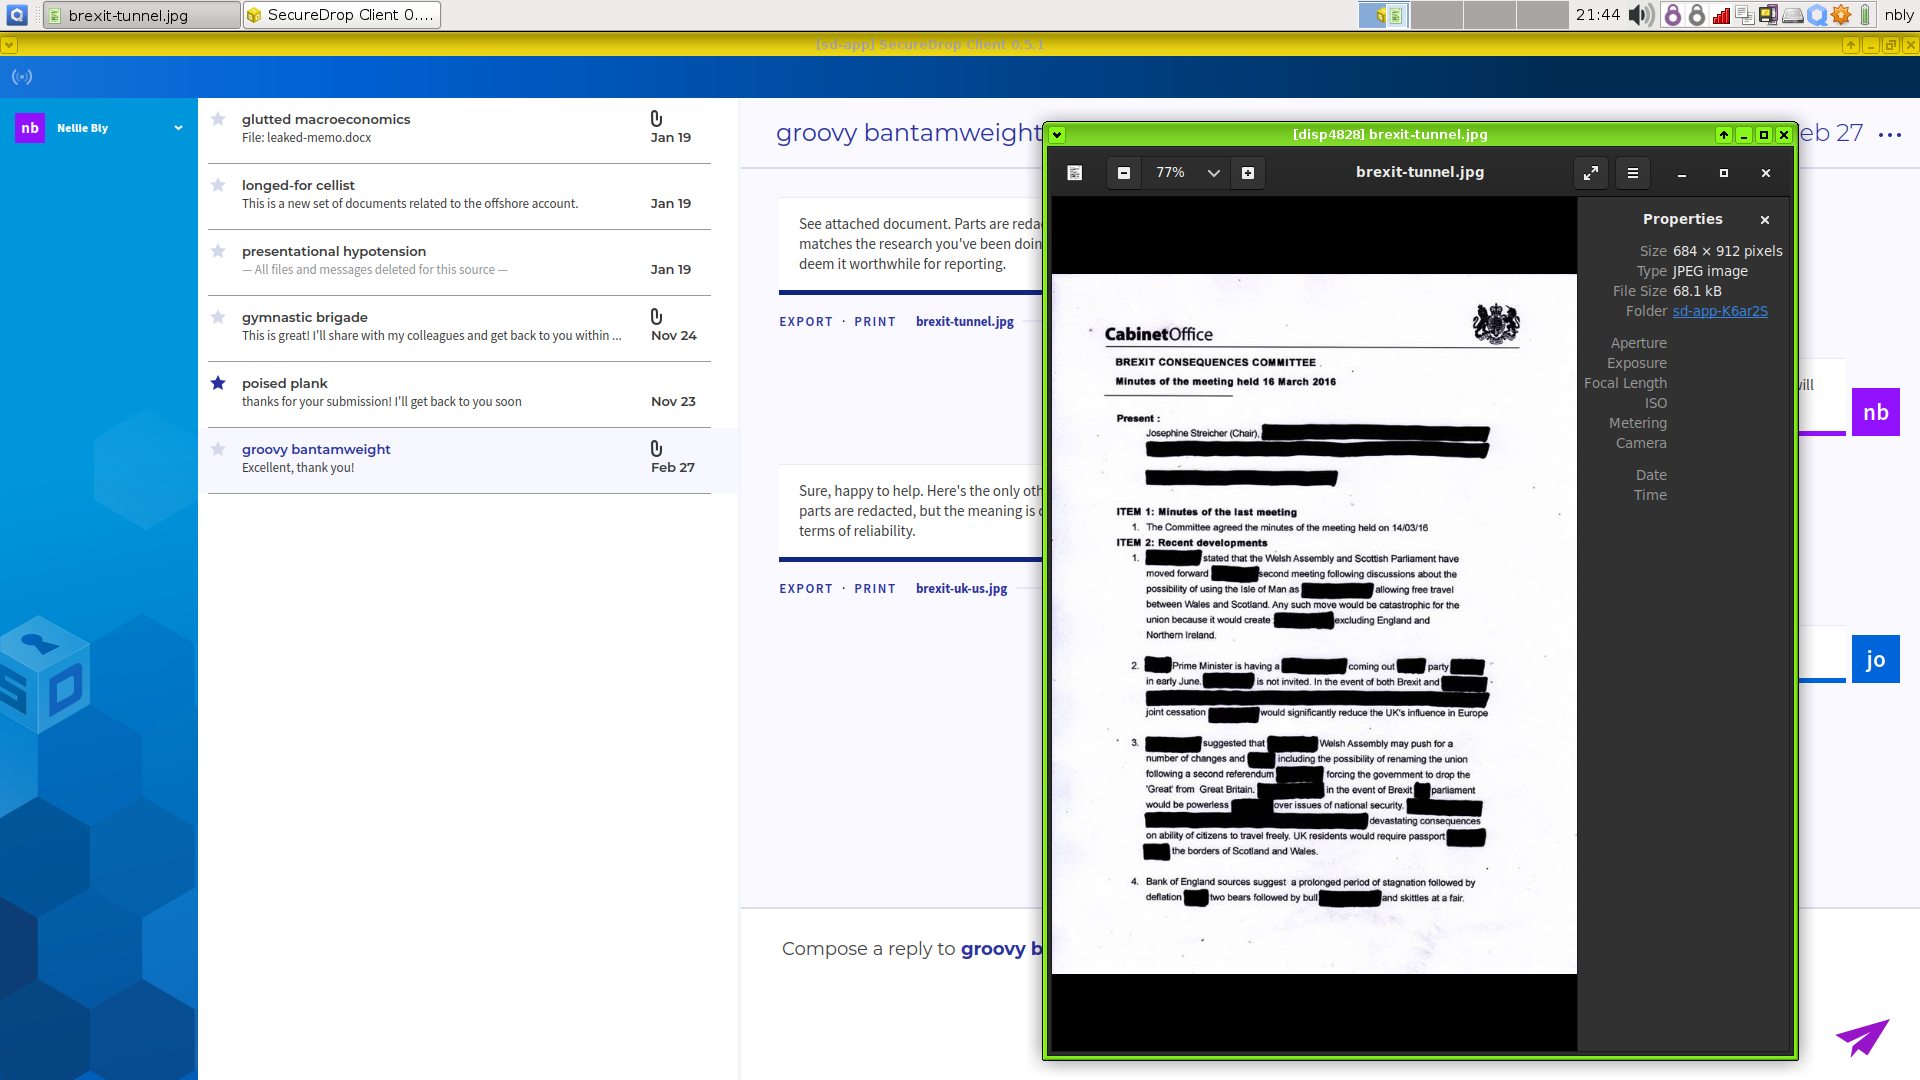
This disposable VM is a special isolated environment similar to the Secure Viewing Station; it does not have internet access, and isolates the files that you are viewing from other sensitive files and applications on the same computer.
Tip
In Qubes, window border colors are used to signify different virtual machines.
Printing
To print a document, a compatible printer must be plugged into the computer’s USB port.
Click the files’s Print option and wait for
sd-printersVM to start.You will prompted to plug in your printer.
A Print Document dialog will appear, from which you can configure different print options before printing the document.
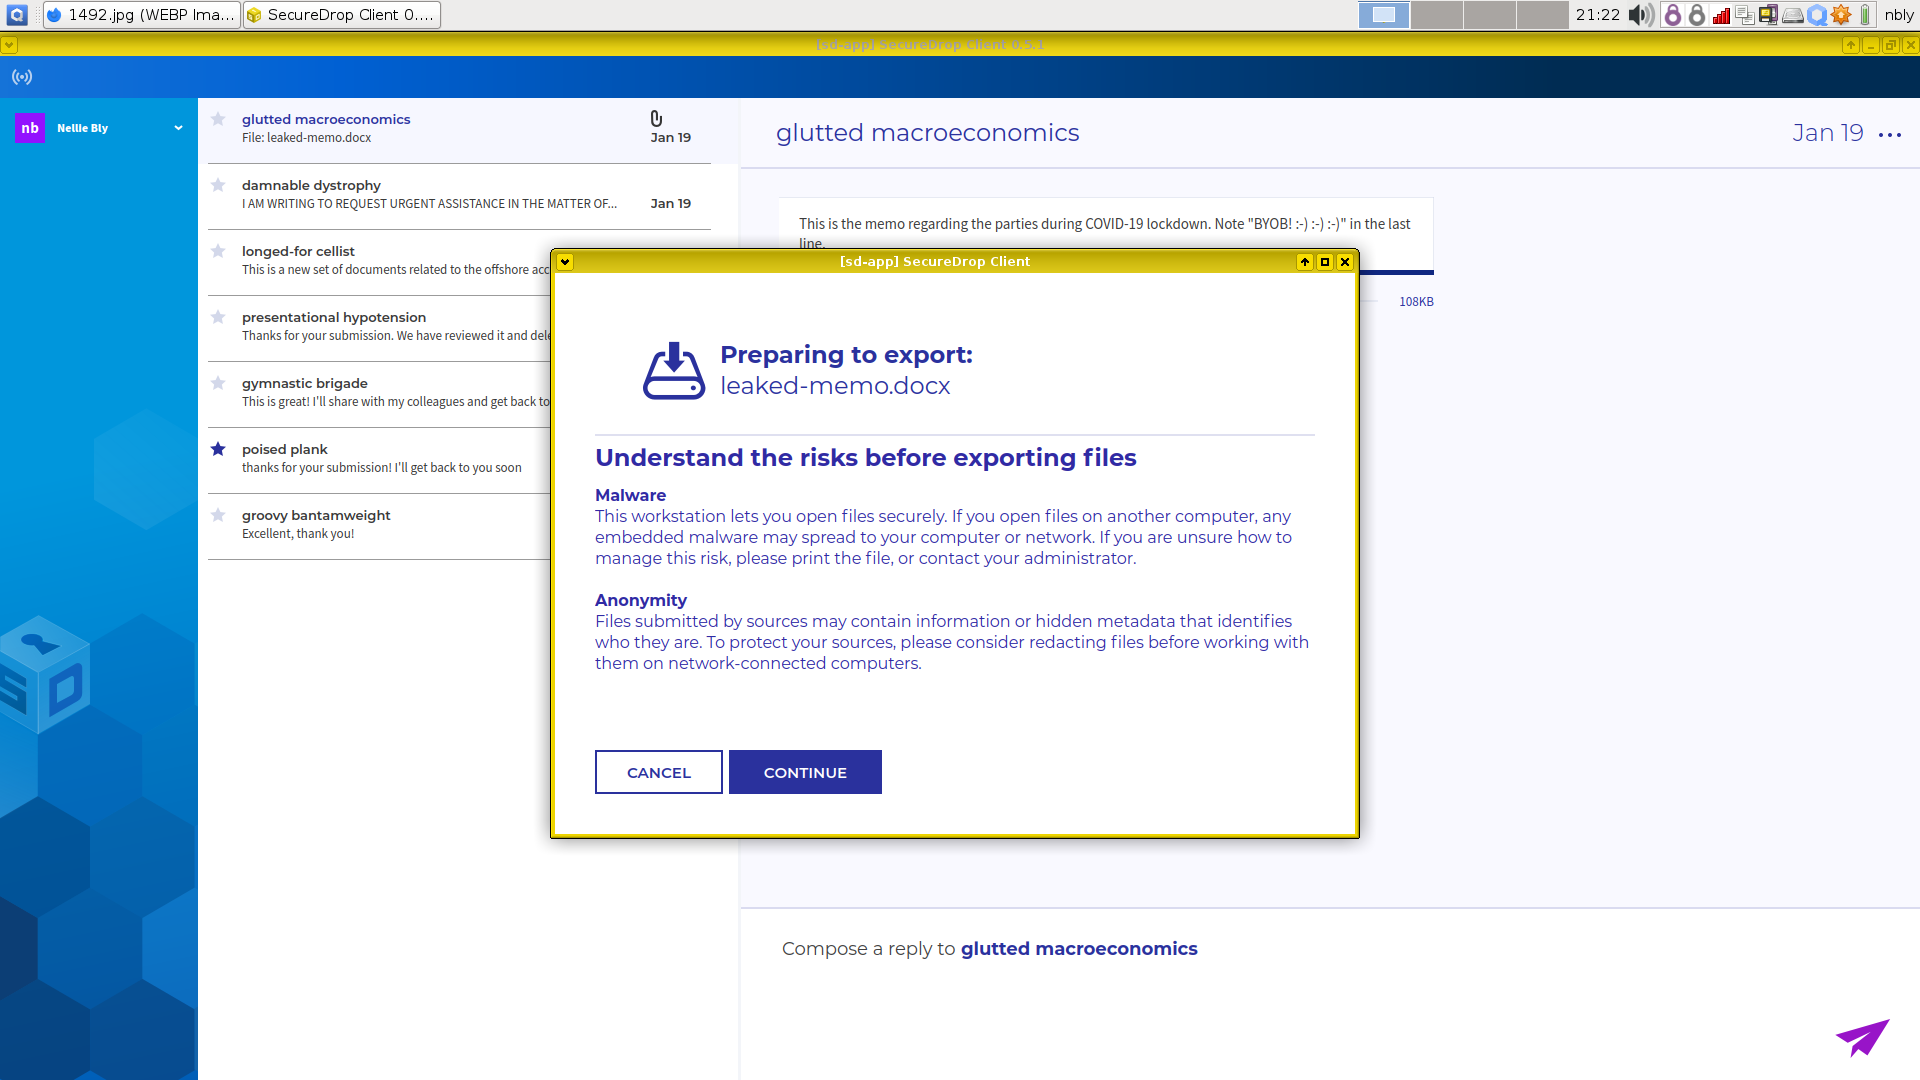
Exporting to an Export USB
Currently, a LUKS- or VeraCrypt-encrypted USB drive is required for exporting submitted files.
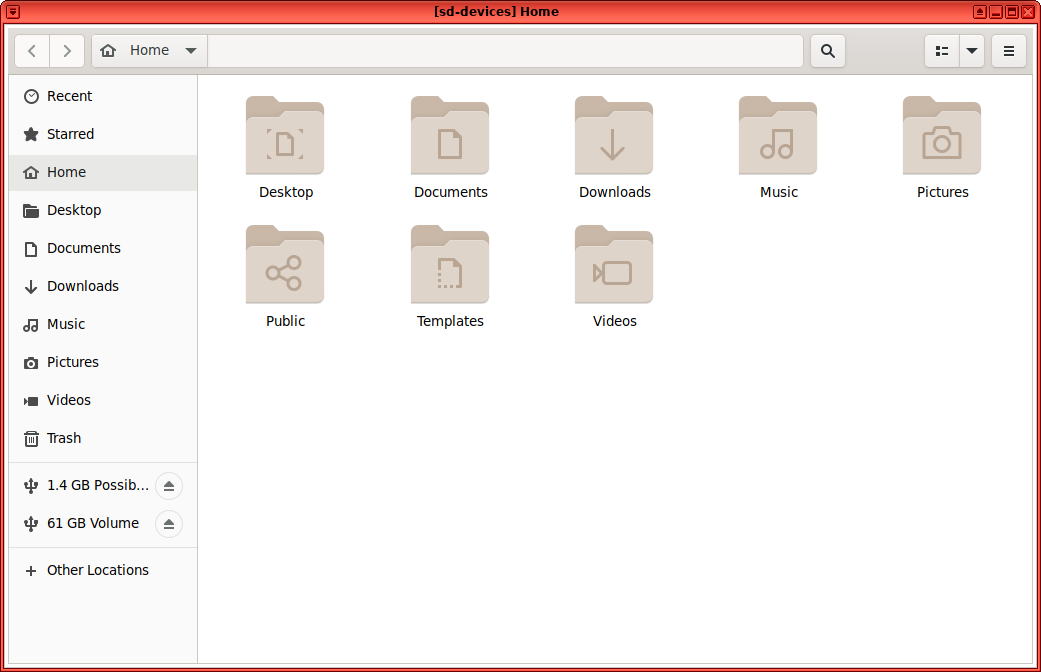
Insert the USB drive and wait for the
sd-devicesVM to start.If your drive is using VeraCrypt, you will need to unlock it manually:
Open the file menu by clicking on the Qubes Application menu
 (in the top left),
select sd-devices and click Files.
(in the top left),
select sd-devices and click Files.In the left sidebar, there should be an entry labeled # GB Possibly Encrypted, click it.
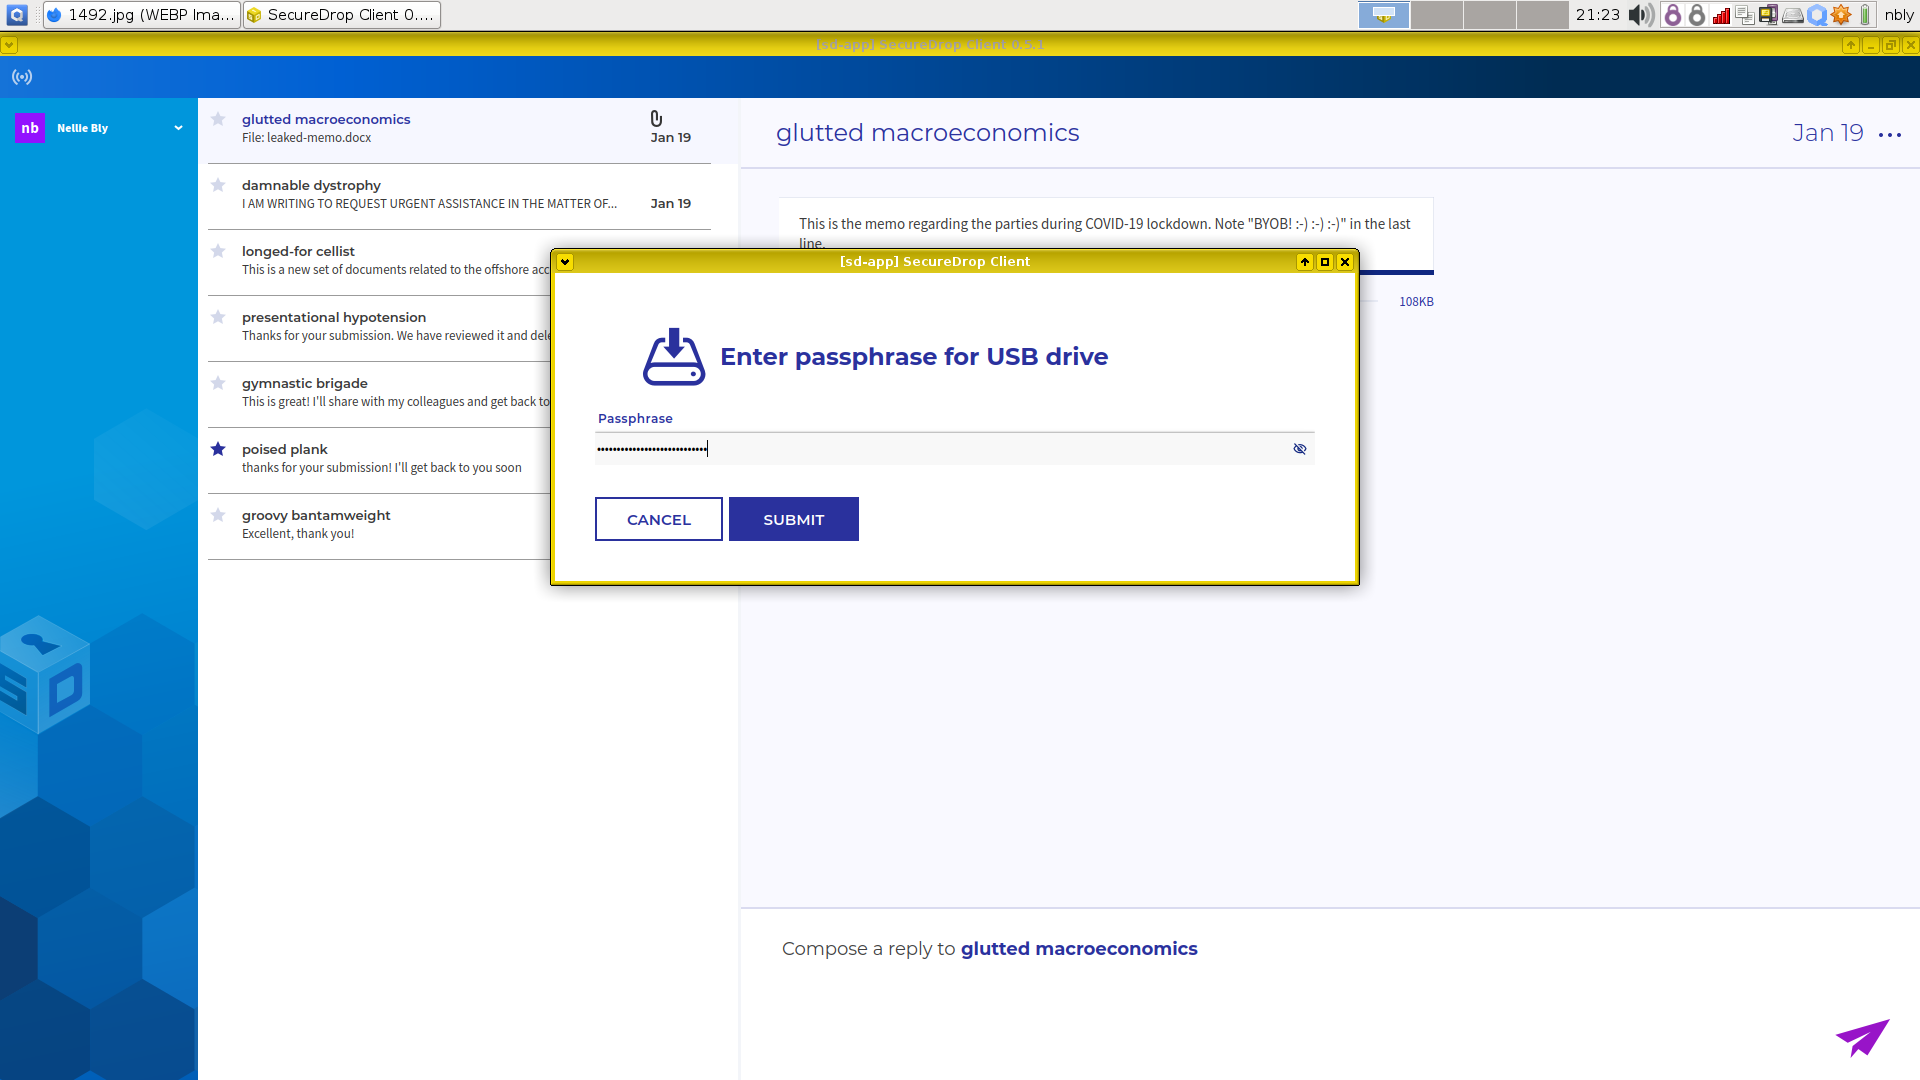
You will be prompted for the password configured for this USB drive:
Volume type: leave both unchecked
PIM: leave empty
Password: drive’s password
Forget password immediately: selected
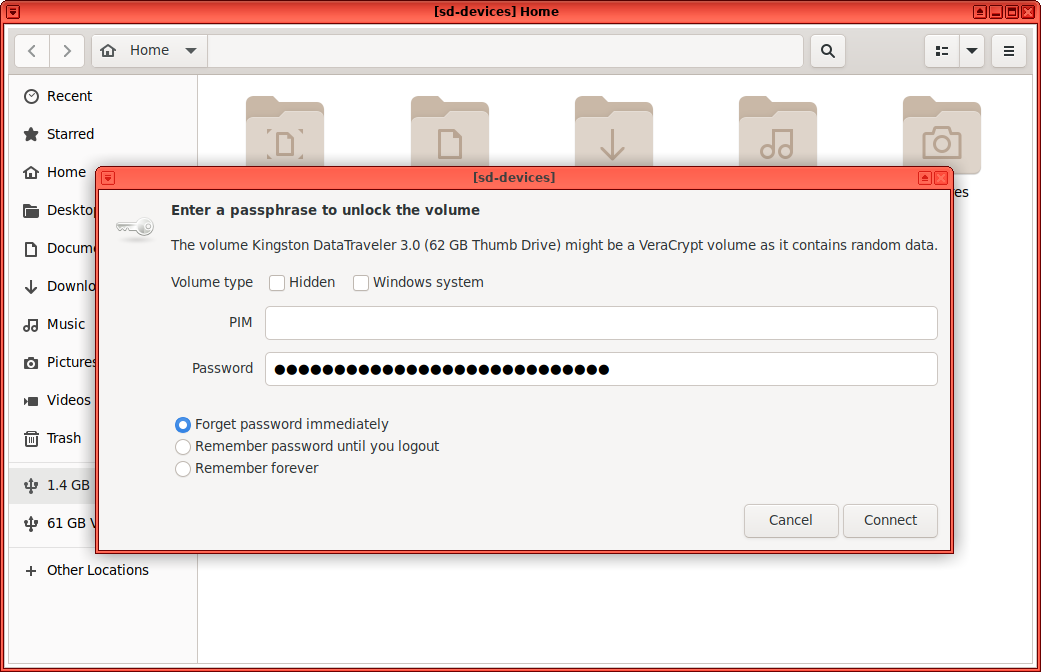
Click Connect.
Back in the source conversation, click the file’s Export option.
If you have not already unlocked your USB drive, you will be prompted for the password configured for this USB drive.
Once you see a message informing you that the export was successfully completed, you can safely unplug the USB drive. Alternatively, you can leave the drive plugged in and export additional files.